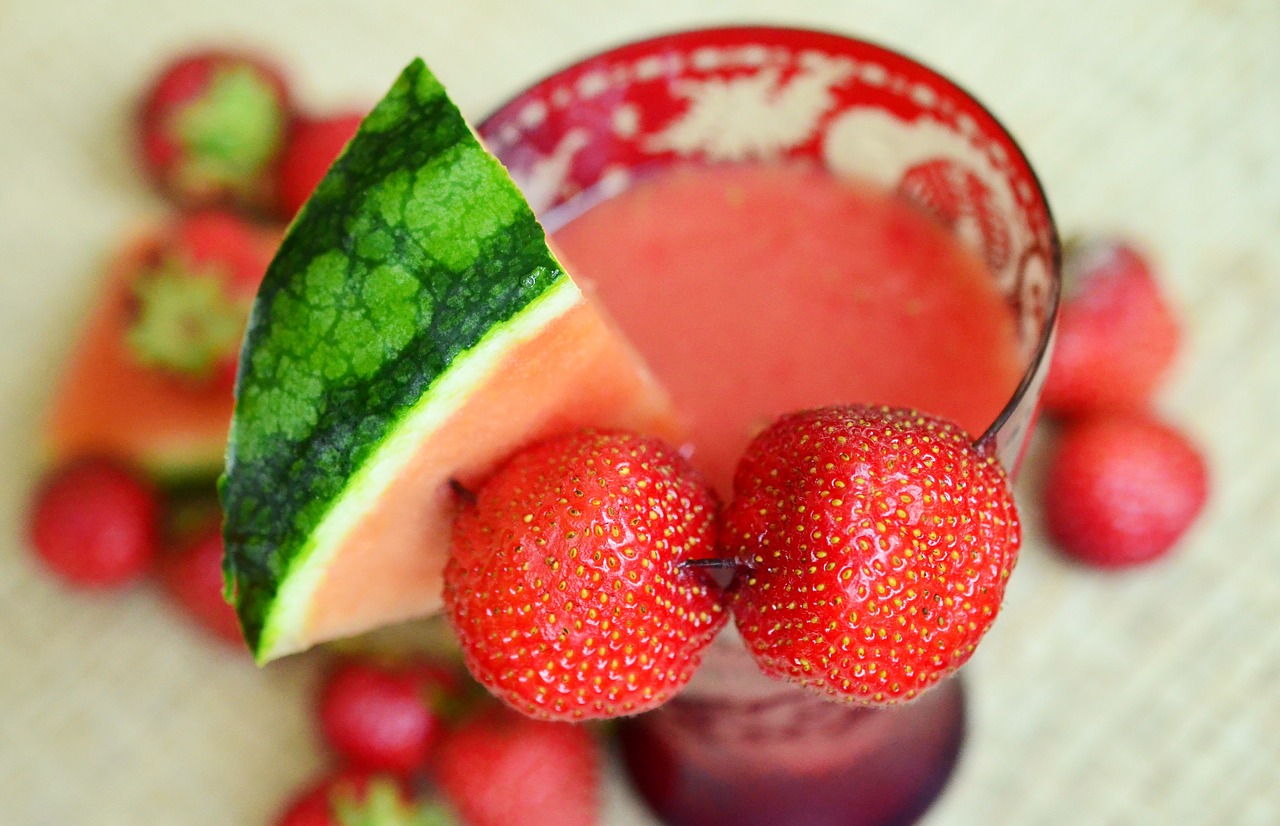
The weather is warm, summer is on its way, and you’re thinking about… Halloween? We’re right there with you!
As much as we love the fun and sun of summertime, Halloween-lovers have their eyes on the season to come. In a few short months, we’ll be deep into 2017’s Halloween celebration. In the meantime, you can keep the spooky spirit alive by adding festive Halloween twists to summertime traditions.
Get ready for a Summer-Halloween (Summerween?) mashup that combines a delicious warm weather treat with a classic Halloween activity: a watermelon Jack-O’-Lantern.
Whether you call it a Water-Lantern or Jack-O’-Melon, this variation on a seasonal favorite will wow summer guests as a welcoming display or show-stopping centerpiece. Carving a watermelon Jack-O’-Lantern is fun activity for any age and adds a memorable tradition to your summer bucket list.
The Jack-O’-Melon

You will need:
-Watermelon(s)
-A Serrated Knife
-Cutting Board
-A Melon Baller (or spoon)
-Pumpkin Carving Tools
-Toothpicks, Drink Umbrellas, Flowers, or Other Decorations (optional)
-Paper Towels or Newspaper
-Large Bowl or Storage Containers (for watermelon fruit)
1. Pick Your Melon
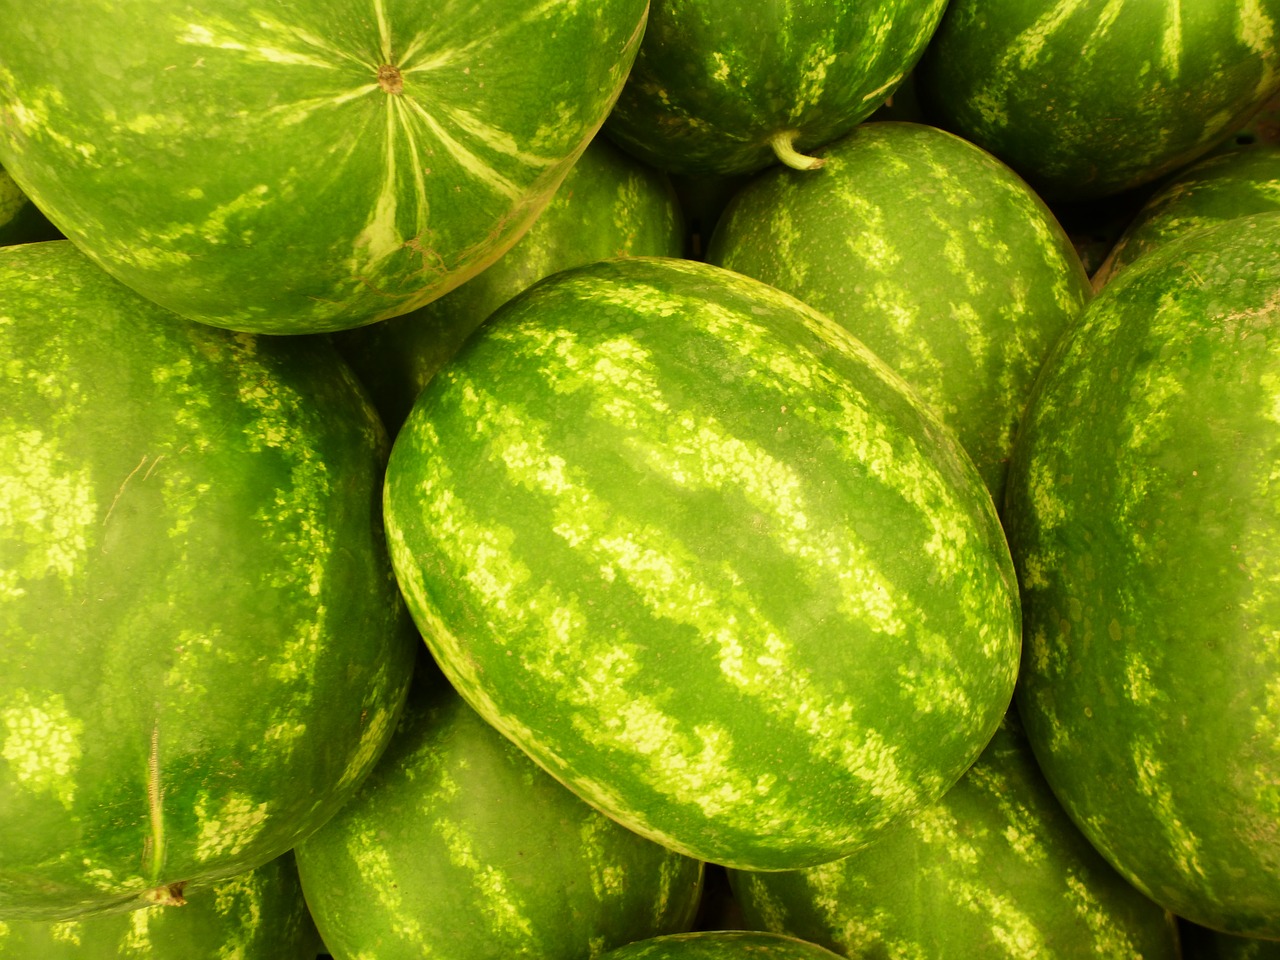
Watermelons come in many sizes with fruit colors varying from deep red to pink and even orange.
The melon’s rind should be smooth and undamaged (like a pumpkin). It’s normal for the watermelon to have a yellow spot on one side. This is where the melon sat on the ground to ripen. Make sure the melon is ripe by giving it a gentle knock to hear the hollow sound inside.
When selecting a melon, remember to choose one that’s the right size and shape for your design.
2. Prepare Your Workspace & Gather Your Supplies
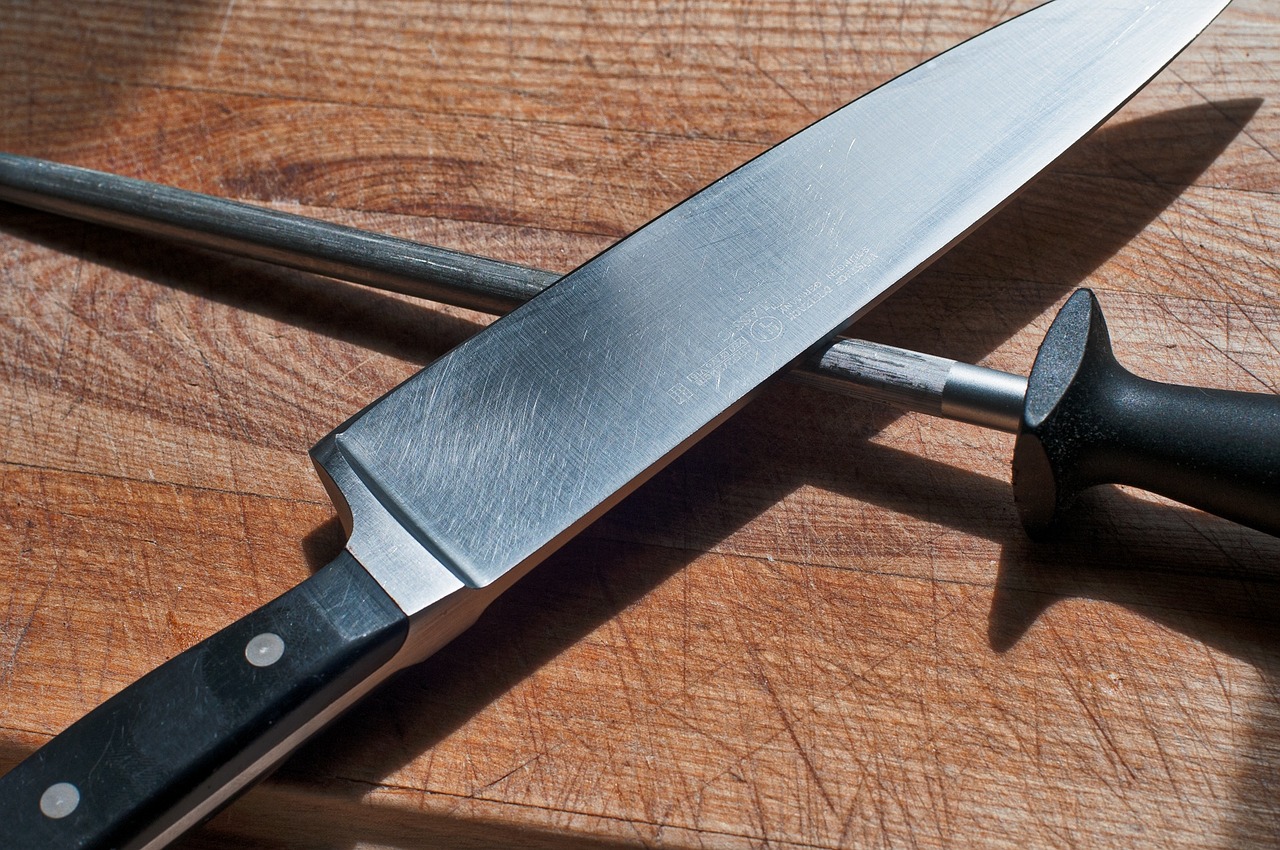
If you’ve ever carved a giant watermelon, you know it can be a messy task. Melons are filled with water, so the project is bound to get juicy fast. Prepare your work space beforehand, so you don’t have to go searching for a tool with sticky fingers.
Lay out paper towels or newspaper around your workspace and on your cutting board to soak up excess juice from the melon. Set out your tools (a serrated knife, melon baller or spoon, and carving tools) and containers to store your fruit.
3. Sketch Out Your Design

Your Jack-O-Melon can be as scary or as tropical as you choose. Decide on a design and create a quick sketch beforehand, so you select the melon shape and size that will work best.
Before cutting your melon, decide where you’ll cut your entry point to scoop or slice out the fruit inside. Everyone has a unique preference on whether they cut out a lid or a base to sit the hollow melon on afterward. We’ve found you can create a larger hole and a more stable Jack-O-Melon with an entry point on the bottom.
With a light pencil or erasable marker, sketch out your design on the melon’s face. Like with your annual pumpkin carving, your design can be as simple or detailed as you’d like.
4. Cut Your Entry Point
With a serrated knife, cut a hole in the melon rind to access the fruit inside. You can cut a circular shape in the top or base of the pumpkin.
Adding a notch or groove to the circular cut allows for deeper access to the fruit inside and will help you locate the proper placement of the base or lid when reassembling.
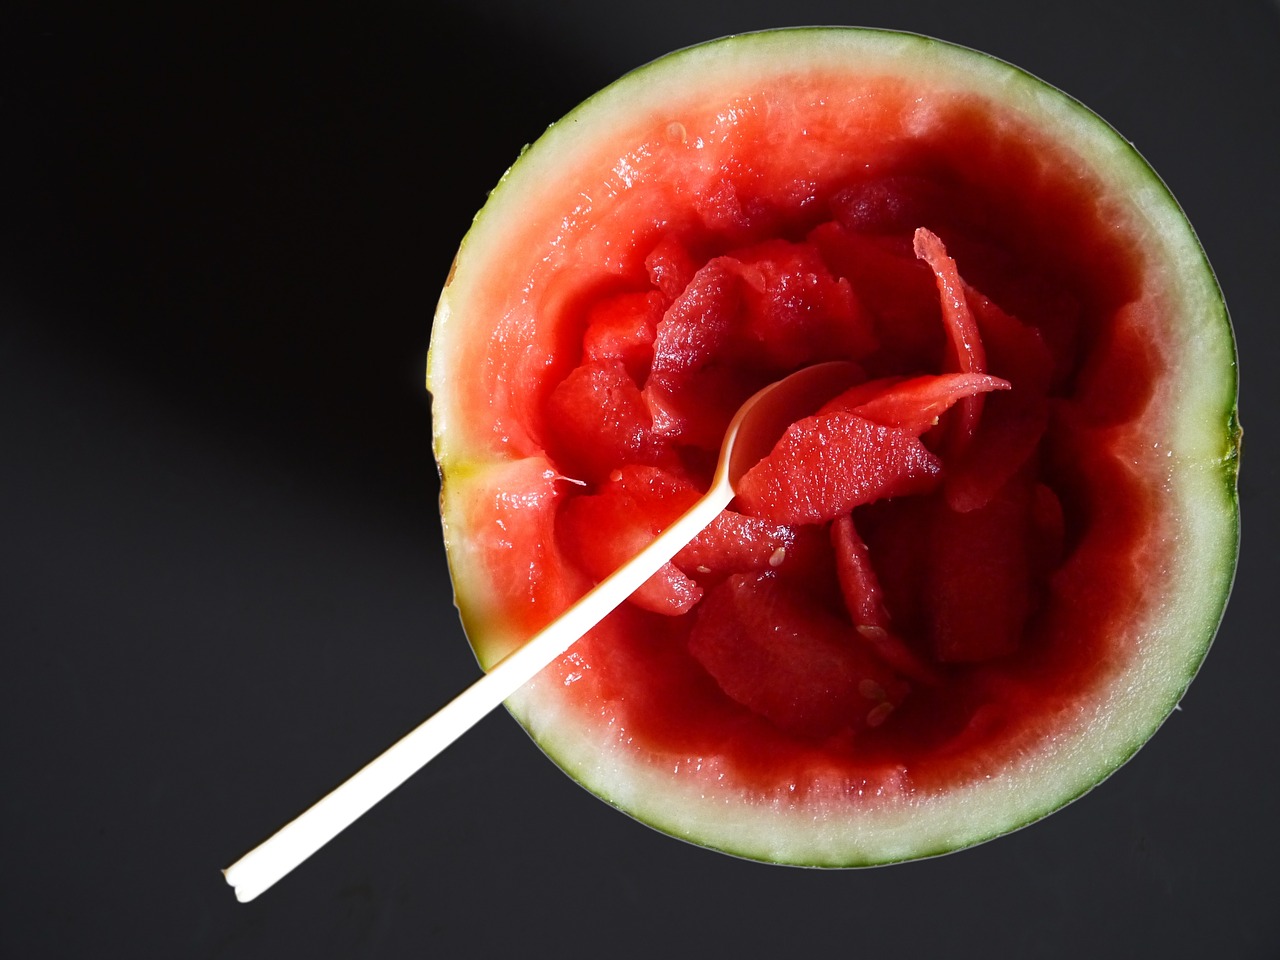
Scoop off the fruit from your base, set aside, and pat the lid or base rind with a paper towel to absorb excess moisture.
5. Scoop Out the Melon
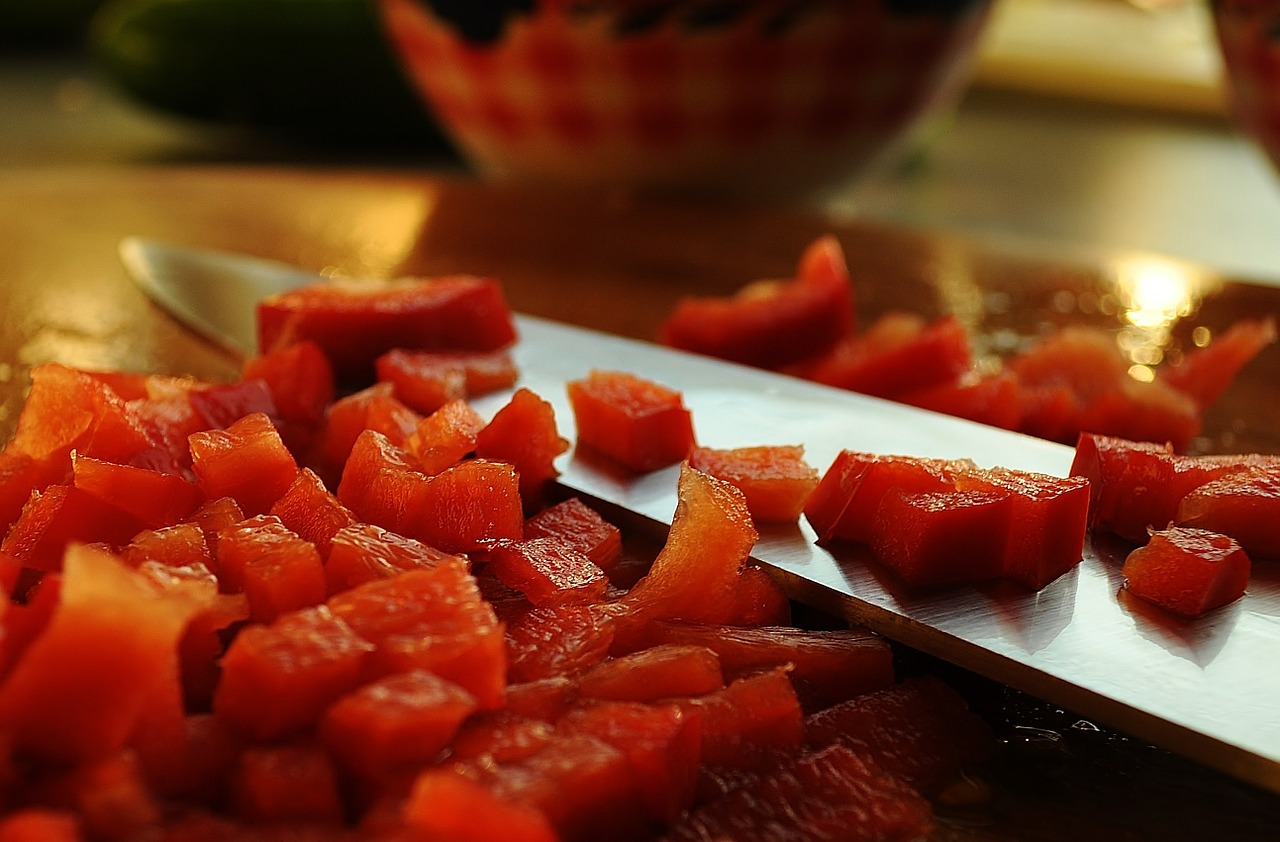
Depending on what you choose to do with the fruit afterward, you can slice or scoop out the interior.
Place the fruit in a large bowl or storage container, cover, and set aside in the fridge to keep cool.
After you’ve removed all the salvageable fruit, scoop the walls of the rind to your desired thickness. A thin rind allows for more detailed cutting but produces a less stable melon for display.
Once your melon is hollowed out, give it a quick rinse in the sink to remove excess juice and pat the interior dry with paper towels.
6. Carve Your Design
Using the tools from your pumpkin carving kit (small saws, linoleum cutter, awl, etc), cut out your design from the melon’s rind. Discard the pieces once removed or repurpose them into fun shapes to embellish your Jack-O’-Melon’s final look.
7. Reassemble, Light, and Enjoy!
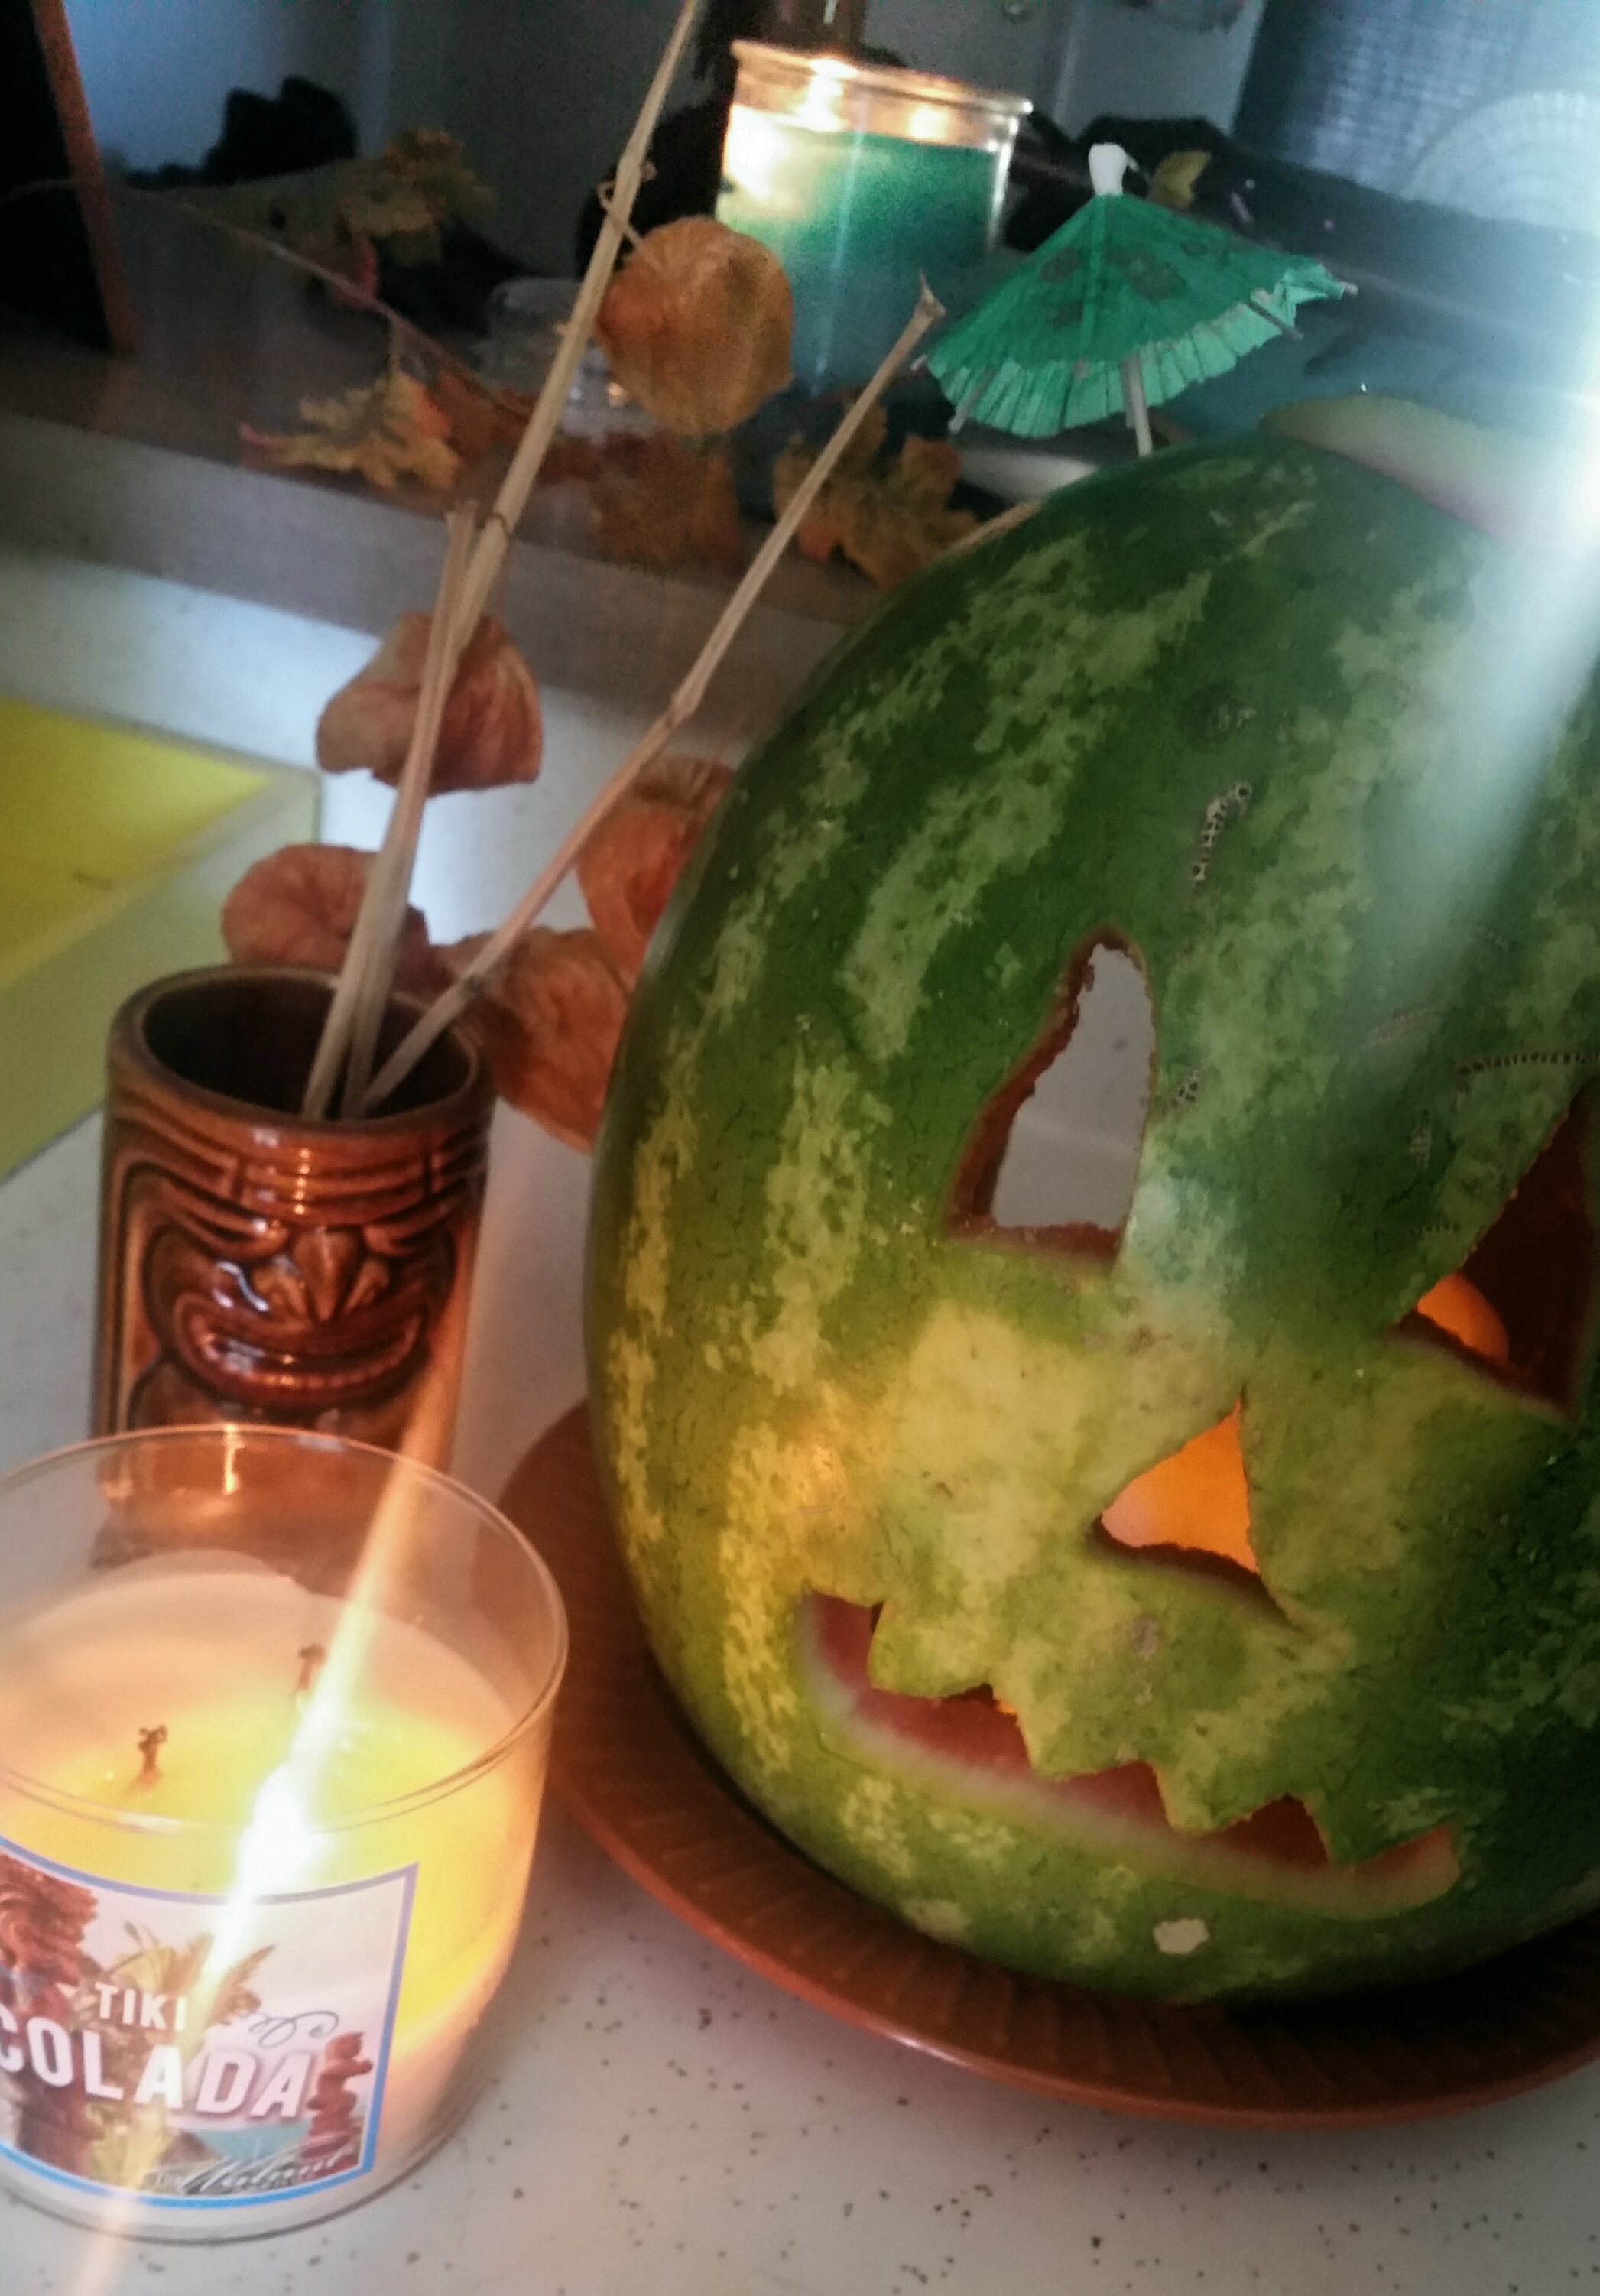
Unlike pumpkins, watermelons don’t hold up well to the heat of a candle. We found the mini battery operated LED tea lights work well, but you could also use glow sticks or string lights inside your creation.
Insert your lighting element, and place your melon back on its base. Melons aren’t as hearty as pumpkins, so you may need to insert tooth picks through the rind to secure the lid or base.
Now you can get creative! Is your Jack-O’-Melon a tropical character? Give her some style with a flowered lai at her base and drink umbrella hat. If your creation is on the spookier side, you can splatter some fake blood around the mouth and encircle him with plastic snakes and spiders. Let your imagination run wild and enjoy!
8. Jack-O’-Melon Cocktails!
Now that you’ve got a fridge full of watermelon, turn that fruit into a refreshing cocktail for summertime party guests. For a recipe that will quench any summer thirst, check out “Jack-O’-Melon Cocktails”.
How do you bring the spirit of Halloween to your summertime celebrations?
Share your tips with us below!
Visit Mr. and Mrs. Halloween for horror news and Halloween treats any time of the year!
For more, celebrate with us on Facebook, Twitter, Pinterest, & Instagram.

